How to Use QR Codes for Accepting Payments for Your Courses

Dear Solopreneurs,
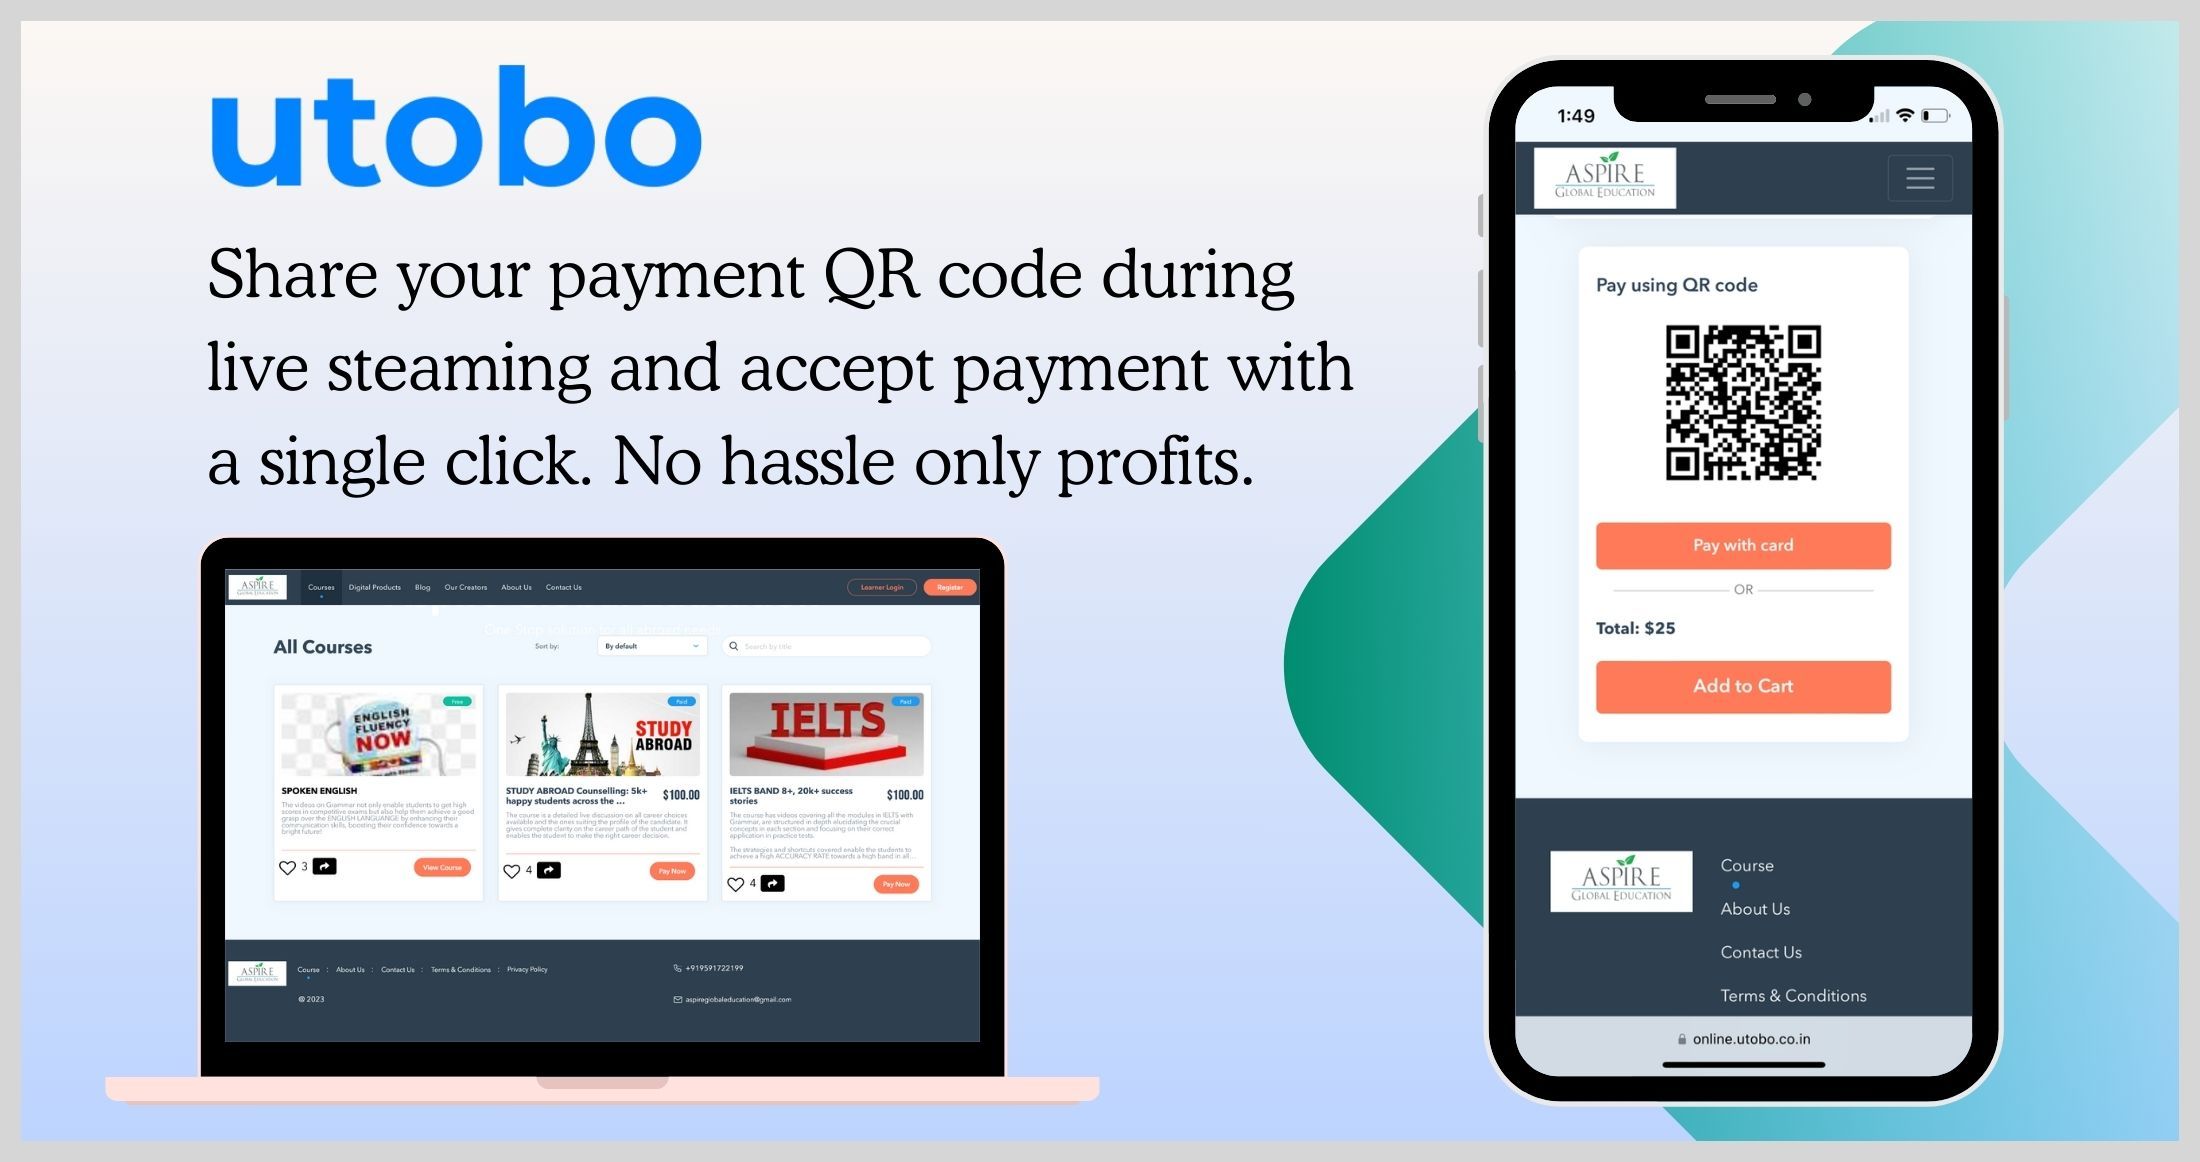
I know that you are a smart creator and I also know that you receive your payments smartly, am I right? Create a website on Utobo, connect your Stripe or PayPal with Utobo, and start accepting payments for your courses via QR codes and card payments. It's that easy. Here are some practical ways to get payments quickly and easily from different platforms.
How to Use QR Codes for Accepting Payments for Your Courses
QR codes have revolutionized the way we handle transactions, making it incredibly easy to accept payments quickly and securely. For course creators, this means a seamless payment process that enhances the customer experience. In this blog, we'll dive into the detailed steps of how you can use QR codes to accept payments after webinars, on your website, and across various social media platforms. We'll also explore other creative ways to integrate QR codes into your marketing strategy.
1. Accepting Payments During and After Webinars
Step 1: Embed QR Code in Presentation Slides
- Create a QR Code: Use a QR code generator to create a code linked to your payment page.
- Embed in Slides: Add the QR code to the final slide of your webinar presentation.
- Call to Action: Encourage attendees to scan the QR code to complete their purchase.
Step 2: Share QR Code in Chat
- During Webinar: Share the QR code image or link in the webinar chat.
- Instructions: Provide clear instructions on how to scan and make the payment.
Step 3: Follow-Up Emails
- Email Attendees: Send a follow-up email with the QR code.
- Include Details: Add a thank you note, course details, and payment instructions.
2. Accepting Payments on Websites
Step 1: Dedicated Payment Page
- Create a Payment Page: Design a dedicated page for payments.
- Embed QR Code: Place the QR code prominently on this page.
Step 2: Course Description Pages
- Add QR Code: Include the QR code in each course description page.
- Near Call to Action: Position the QR code near the "Buy Now" or "Enroll" button.
Step 3: Pop-Up Banners
- Use Pop-Ups: Implement pop-up banners with the QR code for new visitors.
- Clear Call to Action: Ensure the banner includes a clear call to action for scanning the QR code.
3. Accepting Payments on Social Media Platforms
TikTok
- Bio Link: Include the QR code in your bio link.
- Videos: Create videos explaining how to use the QR code for payments.
- Pinned Posts: Pin a video with the QR code to the top of your profile.
YouTube
- On-Screen Display: Display the QR code on-screen during videos.
- Video Descriptions: Include the QR code in video descriptions.
- End Screens: Use end screens with the QR code and a call to action.
- Bio Link: Share the QR code in your bio link.
- Stories: Post the QR code in stories with a swipe-up link.
- Posts and IGTV: Include the QR code in posts and IGTV descriptions.
- Page Posts: Post the QR code on your page and in groups.
- Live Sessions: Use the QR code in Facebook Live sessions.
- Shop Integration: Include the QR code in your Facebook Shop.
X.com
- Tweets: Tweet the QR code with a brief explanation.
- Pinned Tweets: Pin the tweet with the QR code to your profile.
- Posts and Articles: Share the QR code in posts and articles.
- Profile Summary: Include the QR code in your profile summary.
4. Other Platforms for QR Code Payments
Email Newsletters
- Embed QR Code: Embed the QR code in your email newsletters.
- Step-by-Step Guide: Provide a guide on how to use the QR code.
Printed Materials
- Brochures and Flyers: Include the QR code in brochures, flyers, and business cards.
- Events and Conferences: Distribute printed materials at events and conferences.
Blogs
- Blog Posts: Add the QR code to your blog posts.
- Call to Action: Use a call to action encouraging readers to scan the QR code.
Banner Content for QR Code Payment Acceptance
Main Heading: "Easy Payment for Your Courses with QR Codes"
Subheading: "Accept Payments Effortlessly During Webinars, on Your Website, and Across Social Media Platforms"
Content:
Webinars:
- Display the QR code on slides.
- Share in the chat.
- Follow up with emails.
Website:
- Use a dedicated payment page.
- Include in course descriptions.
- Utilize pop-up banners.
Social Media:
- TikTok: Bio link, videos, pinned posts.
- YouTube: On-screen, descriptions, end screens.
- Instagram: Bio link, stories, posts, IGTV.
- Facebook: Page posts, groups, Live sessions, Shop.
- Twitter: Tweets, pinned tweets.
- LinkedIn: Posts, articles, profile summary.
Other Platforms:
- Email Newsletters: Embed QR code, provide guide.
- Printed Materials: Brochures, flyers, business cards.
- Blogs: Add QR code, call to action.
Call to Action: "Scan the QR code and start your learning journey today! Simplify your payment process and enhance your course sales."
Visuals
QR Code Images:
- Prominently display QR codes for easy scanning.
Icons:
- Use relevant icons for webinars, websites, and social media platforms.
Clear Instructions:
- Provide step-by-step instructions with visuals on how to scan and pay using QR codes.
By integrating QR codes into your payment process, you can provide a seamless and efficient experience for your students, making it easier for them to purchase your courses. This comprehensive guide ensures you don't miss any steps and can effectively use QR codes across various platforms.


